D day -1 all
clear waiting for the artisans to arrive.
About Me

- Pix Valley
- From Rugby, Warwickshire; Went to Marlborough Secondary School; Studied at Rugby College of Engineering Technology; Worked at HM Forces - British Army; Studied at Royal School of Military Engineering; Former Maintenance Technician at International Computers Limited; Former IT Support at GlaxoSmithKline Pharmaceuticals Ltd; Lives in Letchworth
Pages
Monday, 15 June 2015
Sunday, 29 March 2015
J72 chassis conversion for DCC Part 4
The replacement 3D printed muffs and gears proved to be out of gauge
for OO at 14.7 mm rather than 14.4 mm so I revered to the replacement Bachmann
set I ordered 3 sets of wheel spacers and 3 intermediate gears for a shade
under £10.
The
first loco wheel set was finished this morning and the chassis chipped as I type
its running in on the rolling road.
Tuesday, 24 March 2015
J72 chassis conversion for DCC Part 3
Today I completed
the first motor conversion
The replacement 3D printed muffs and gears arrived, not sure if they will do the job still it was worth a go!
Monday, 23 March 2015
J72 chassis conversion for DCC Part 2
As the
weather was quite pleasant the mill table was degreased and the vice set-up. One
set of chassis frames now milled
An 8mm hole not 5mm as first mentioned drilled where the motor brushes contact the frame. This was necessary to isolate the motor brushes from the frames.
There
is now ample room to fit the chip into its new pocket and even room for some
packing, and I have just received notification that my replacement 3D printed muffs
and gears or on there way via UPS, I’ll post how I get on with these when they
are fitted.
Saturday, 21 March 2015
Bachmann 32-500 BR Standard 5MT DCC fitting
Due to the numerous detailed fittings careful handing whilst removing the body is essential, starting with the rear left driving wheel remove the small slotted screw holding the speedo drive and gently ease away.

finally at the
rear again there is another cross headed screw under the brake rodding. I could
not find an easy way of removing all of the rodding so I unclipped the rear
actuator trunnion and nudged it a bit to access the screw.

Short countersunk is
the front and long cheese head the rear.

Having removed the body, it is a tight fit you
will see the blanking plug just forward of the gearbox, remove this and plug in
your decoder I used a Hatton’s standard 8 pin which fits into the plastic cradle
supplied.
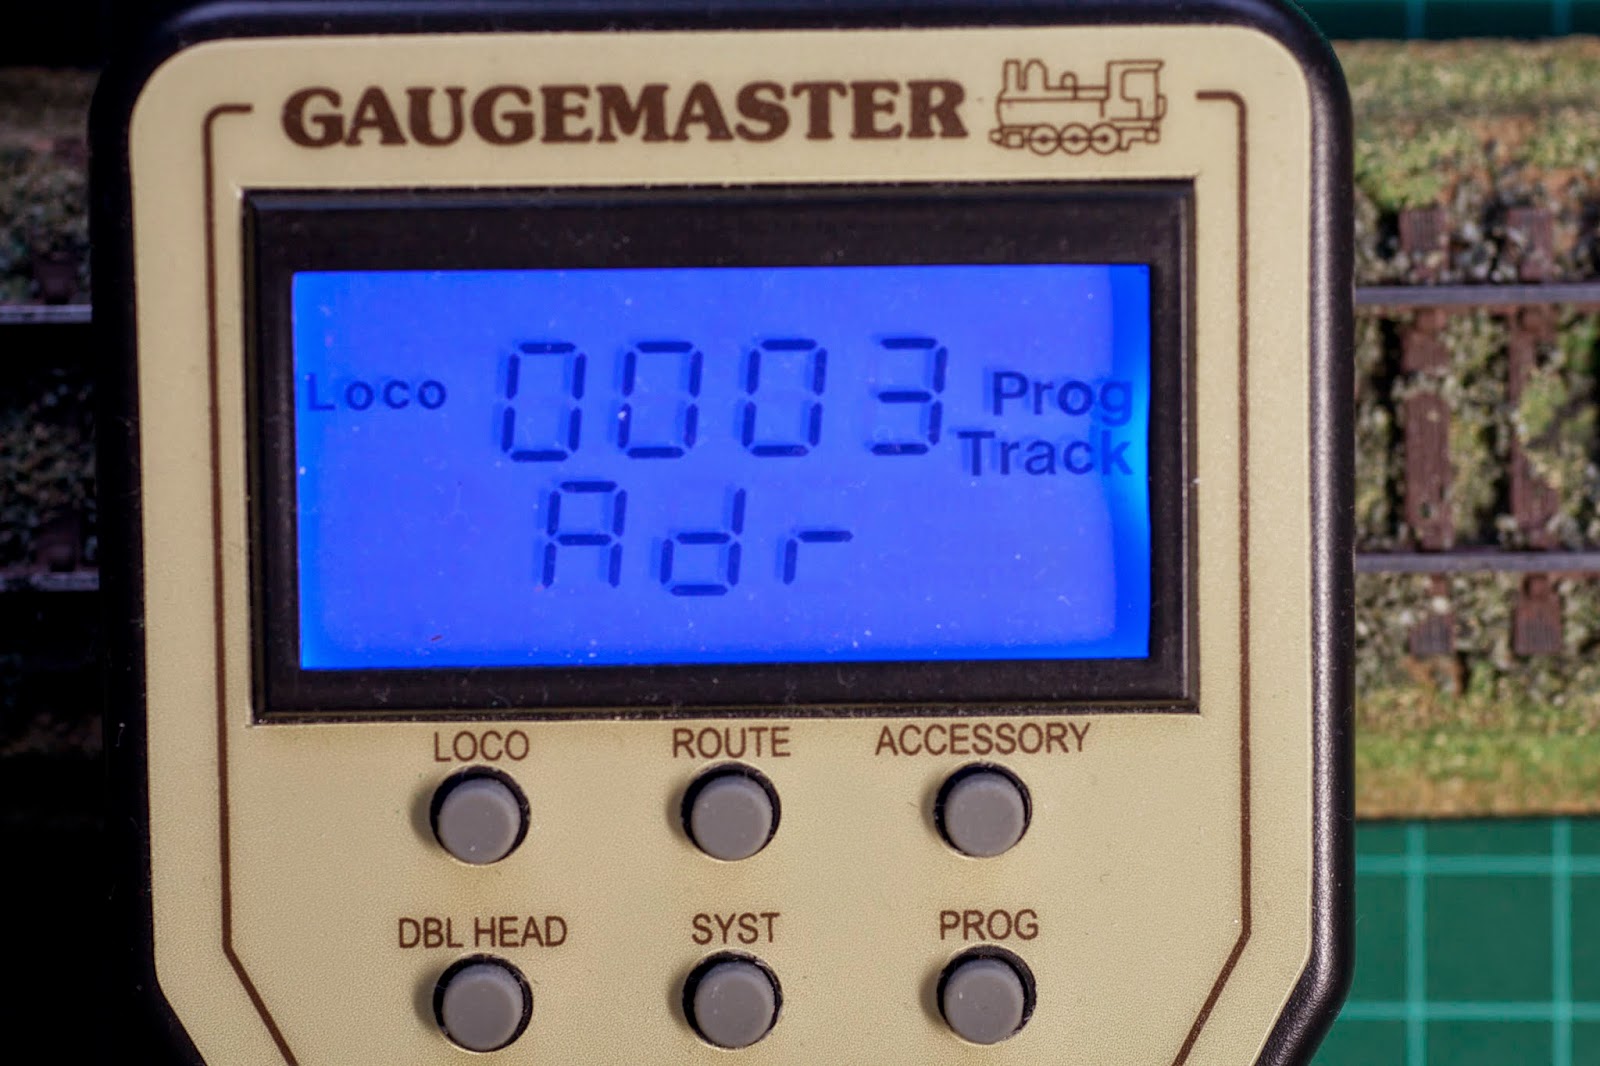
Before I reassembled the loco I performed a quick check on the programming track to see if I could read the chip.
Reassembly is of course done in reverse order;
check the body sits flush against the chassis you can see this from where the
screws fit not forgetting to locate plate that sits on the rear screw pillar
and the tender draw bar.
Gently tighten the two mounting screws checking the
alignment of the body as you go. Reattach the speedo drive to the rear driving wheel and finally the fiddly bit the rear actuator trunnion. A test run before reprogramming the CV’s that I job done.
Sunday, 15 March 2015
J72 chassis conversion for DCC
One
of the sick J72’s has been stripped and degreased in my ultrasonic bath.
I
propose to remove around 2mm of material between the marks on the frames (lower
picture) the other side will be milled to the same profile and a 5mm hole drilled
where the motor brushes contact the frame. This will allow the chip to sit in
the boiler and the holes will allow the motor wires to exit the frames without
making contact. Unfortunately the weather has taken a turn so I will not be
degreasing the mill this week! As a foot note I have found another source of Replacement gear and
muffs for split-frame Bachmann J72 see
this link http://shpws.me/FD3X
Friday, 13 March 2015
Bachmann J72
Apparently this is quite common with split frame locos even
when they are stored!
Subscribe to:
Posts (Atom)