Due to the numerous detailed fittings careful handing whilst removing the body is essential, starting with the rear left driving wheel remove the small slotted screw holding the speedo drive and gently ease away.
 Moving forward to the front of the loco there is a cross headed screw under the bogie assembly that has to be removed
finally at the
rear again there is another cross headed screw under the brake rodding. I could
not find an easy way of removing all of the rodding so I unclipped the rear
actuator trunnion and nudged it a bit to access the screw.

Short countersunk is
the front and long cheese head the rear.

Having removed the body, it is a tight fit you
will see the blanking plug just forward of the gearbox, remove this and plug in
your decoder I used a Hatton’s standard 8 pin which fits into the plastic cradle
supplied.
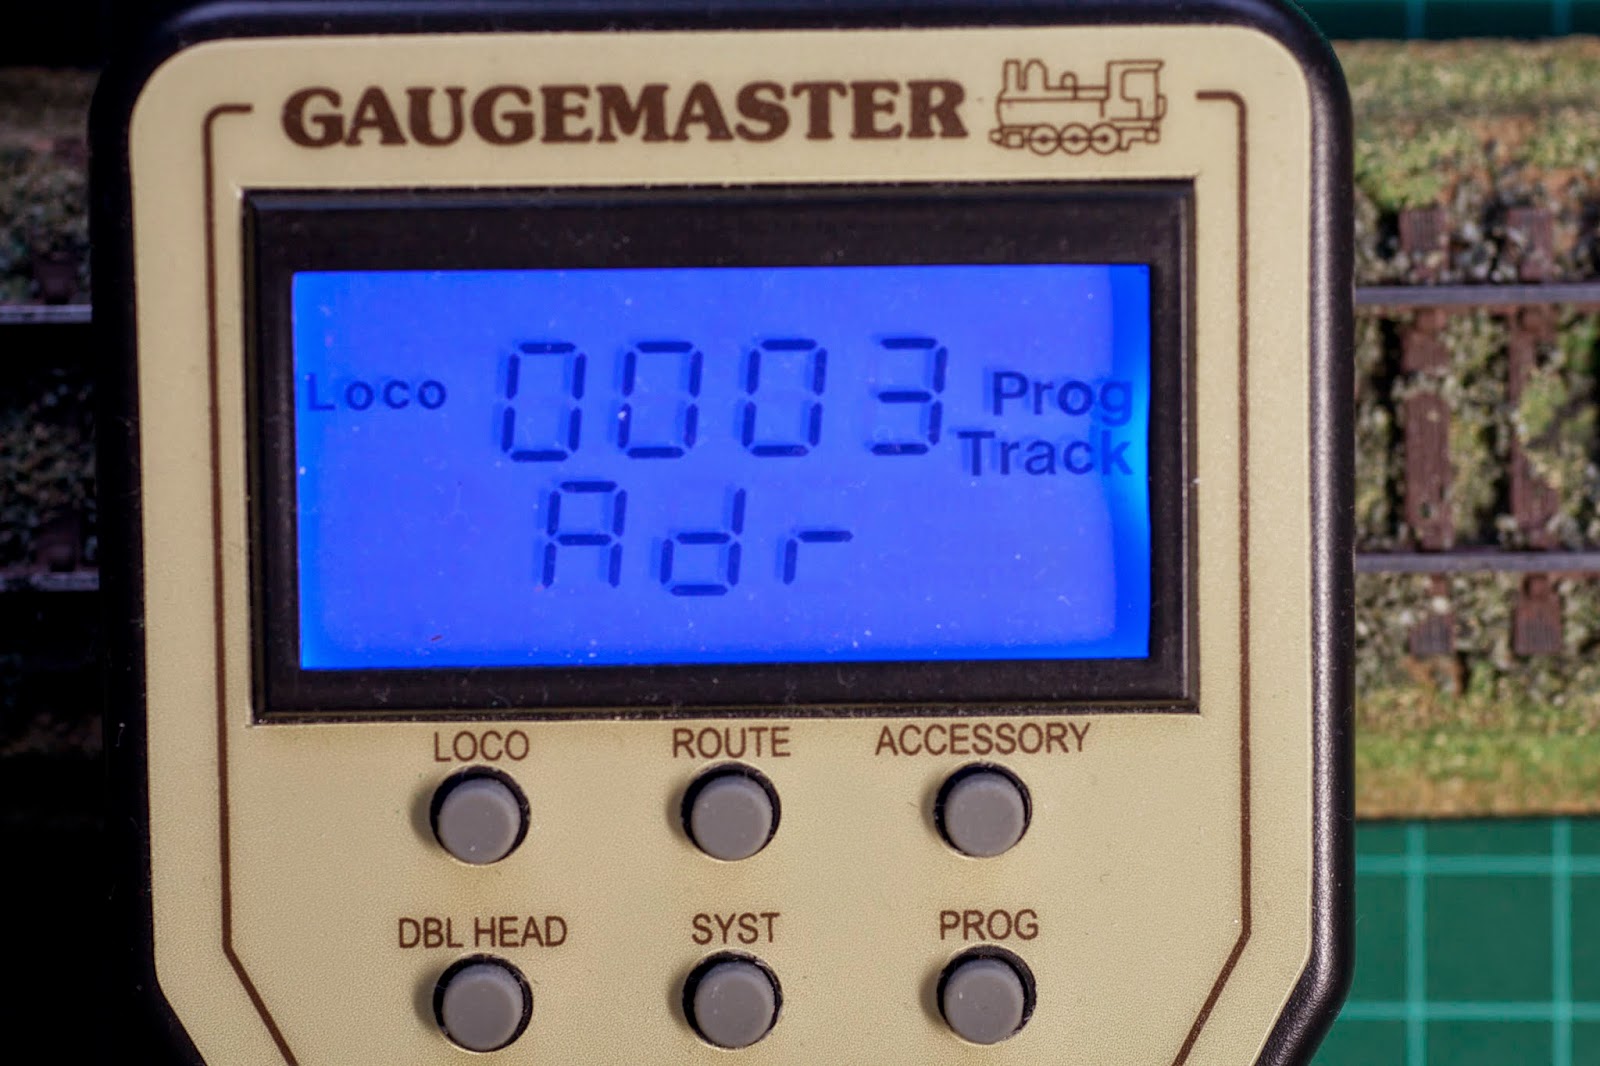
Before I reassembled the loco I performed a quick check on the programming track to see if I could read the chip.
Reassembly is of course done in reverse order;
check the body sits flush against the chassis you can see this from where the
screws fit not forgetting to locate plate that sits on the rear screw pillar
and the tender draw bar.
Gently tighten the two mounting screws checking the
alignment of the body as you go.


That looks like a very tidy loco. Have you seen the New Bachmann 2015/2016 Book? £7.95 I got mine last week and have put my orders in, I don't tend to think about it too long as history has proved as soon as new stuff arrives in store it's gone in no time...
ReplyDeleteI picked it up in Skeggy £65 good box and all the paperwork i though why not.
ReplyDeleteA good buy...
ReplyDelete